Running Cockpit on OpenSUSE Leap

Cockpit has included in openSUSE Leap starting by 15.6. This integration improves usability and access as well as providing a link between advanced system administration and user-friendly operations from the web browser.

Before install, make sure the system is up-to-date: sudo zypper ref -f; sudo zypper up

Install it from zypper and enable running at startup with these commands:

$ sudo zypper install cockpit
$ sudo systemctl enable --now cockpit.socket

You may search additional cockpit packages with:

$ zypper search cockpit
S  | Name                     | Summary                         | Type
---+--------------------------+---------------------------------+-----------
i+ | cockpit                  | Web Console for Linux servers   | package
   | cockpit                  | Web Console for Linux servers   | srcpackage
i  | cockpit-bridge           | Cockpit bridge server-side co-> | package
   | cockpit-bridge-debuginfo | Debug information for package-> | package
   | cockpit-debuginfo        | Debug information for package-> | package
   | cockpit-debugsource      | Debug sources for package coc-> | package
   | cockpit-devel            | Development files for for Coc-> | package
   | cockpit-doc              | Cockpit deployment and develo-> | package
   | cockpit-kdump            | Cockpit user interface for ke-> | package
   | cockpit-networkmanager   | Cockpit user interface for ne-> | package
   | cockpit-packagekit       | Cockpit user interface for pa-> | package
   | cockpit-pcp              | Cockpit PCP integration         | package
   | cockpit-pcp-debuginfo    | Debug information for package-> | package
   | cockpit-selinux          | Cockpit SELinux package         | package
   | cockpit-storaged         | Cockpit user interface for st-> | package
i  | cockpit-system           | Cockpit admin interface packa-> | package
i  | cockpit-ws               | Cockpit Web Service             | package
   | cockpit-ws-debuginfo     | Debug information for package-> | package

For example, if you want to install the other packages such as cockpit-packagekit and cockpit-storaged, or maybe you use NetworkManager instead Wicked:

sudo zypper install cockpit-packagekit cockpit-storaged cockpit-networkmanager

Open the firewall if necessary:

$ sudo firewall-cmd --permanent --zone=public --add-service=cockpit
$ firewall-cmd --reload

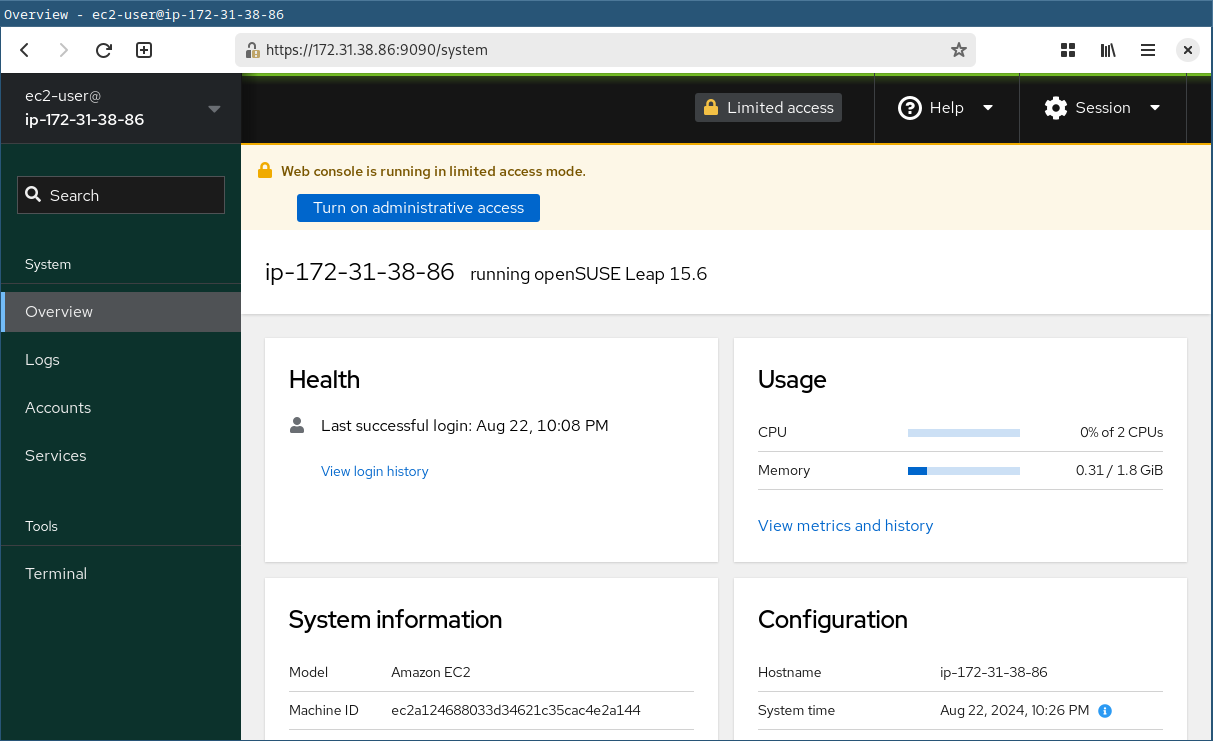
Point your web browser to: https://ip-address-of-machine:9090. Use your system user account and password to log in.

Continue reading “Running Cockpit on OpenSUSE Leap”
Developing Containerized Application with Toolbox

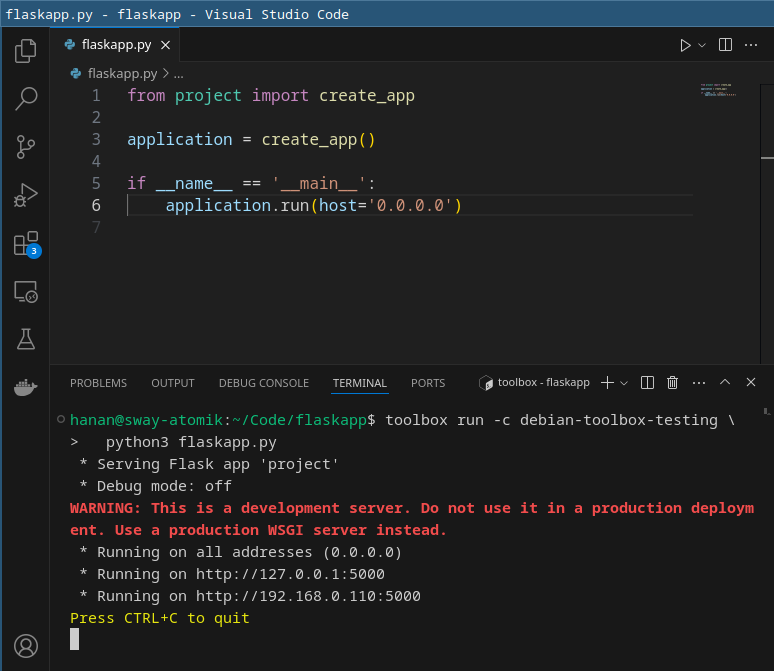
In the previous post, I’ve written about how to start to develop the Flask application using the Python virtual environment. In this writing, I’ll use different approach using the containerized environment with Toolbox (or Toolbx).

Toolbox makes it easy to use a containerized environment for everyday software development and debugging. With this tool, makes the Linux containers are more practical to use. We will benefit the Linux Distro packages to run a Flask application inside the container.

I choose a container image from Debian testing distribution for this kind of containerized environment. You may consider to use another distro such as Tumbleweed, Arch, Rawhide, or whatever you like.

Create a toolbox container with the toolbox-create command:

$ toolbox create -i quay.io/toolbx-images/debian-toolbox:testing

It automatically creates a container with the name debian-toolbox-testing. Enter to the Toolbox container with toolbox-enter, we will use the interactive shell to install the Debian packages.

Continue reading “Developing Containerized Application with Toolbox”

Using LDAP Authentication in Laravel Application

LDAP (Lightweight Directory Access Protocol) is an open protocol used for storing information about an organization and its users and assets. This protocol is used to communicate with a directory database to query, add or modify information.

LDAP authentication authenticates the user via LDAP server such as Active Directory. For such, user should have valid directory record in LDAP server to get authorized to access certain system or services.

Since LDAP is an open protocol, there are many different implementations available, the most prominent probably Microsoft Active Directory and OpenLDAP. We will use 389 Directory Service as the LDAP Server and the directory is under domain ldap.hanan.my.id as an example.

I’m using Fedora Cloud for installing the LDAP server, you may consider using other operating system you like. Simply install the 389ds package on Fedora: dnf install 389-ds-base and will access it through Cockpit: dnf install cockpit-389-ds.

Continue reading “Using LDAP Authentication in Laravel Application”

Python 3.12 and Fedora Container Image

Good news! Python 3.12 has recently been released and Fedora 39 ships it in the system. We don’t have to replace existing Python installation in our operating system, but we could use the container to run the latest Python release for testing or other purposes.

Since Python 3.9 and Fedora 33, Python’s annual release cycle was adapted for Fedora. It’s now common that Python is upgraded on a similar schedule in every odd-numbered Fedora release and it benefits us to build Python 3.12 container image from the Fedora 39 base image.

Download the latest Fedora-Container-Base-39 package from Koji build system.

~$ wget -O fedora-rootfs.tar.xz https://kojipkgs.fedoraproject.org//packages/Fedora-Container-Base/39/20231116.0/images/Fedora-Container-Base-39-20231116.0.x86_64.tar.xz
~$ tar -tf fedora-rootfs.tar.xz 
12925a914e4fc1e0afe772a695133c8a9b9ab22c9bb1d50291f217aa091df8ac/
12925a914e4fc1e0afe772a695133c8a9b9ab22c9bb1d50291f217aa091df8ac/VERSION
12925a914e4fc1e0afe772a695133c8a9b9ab22c9bb1d50291f217aa091df8ac/json
12925a914e4fc1e0afe772a695133c8a9b9ab22c9bb1d50291f217aa091df8ac/layer.tar
repositories
cdb69bcbc4cabd55d807cec5be5f74755b2925233efc282d672d721533b89fd6.json
manifest.json

The tarbal contains the root file system (rootfs) with the file name layer.tar. The rootfs needs to be extracted from the downloaded archive.

~$ tar -xJvf fedora-rootfs.tar.xz 12925a914e4fc1e0afe772a695133c8a9b9ab22c9bb1d50291f217aa091df8ac/layer.tar
~$ mv 12925a914e4fc1e0afe772a695133c8a9b9ab22c9bb1d50291f217aa091df8ac/layer.tar rootfs.tar 

Once a rootfs is available, to build a base image requires only a Dockerfile file with the following instructions:

Continue reading “Python 3.12 and Fedora Container Image”

Building Alpine Container Images

Containerization is a reliable solution to run multiple tasks or applications on the same host. The container allows applications to be bundled with their own libraries and configuration files, and then executed in isolation on a single OS kernel. It ensures application isolation in terms of security and data access, and as resource allocation.

A container image is a template containing a set of instructions for creating a container. It provides a convenient way to package up applications and preconfigured server environments, which you can use for your own private use or share publicly with other users.

Alpine is ideal for creating small and efficient container images, which can reduce the build time, the storage space, and the network bandwidth. It is designed to be simple, fast, and secure, with minimal dependencies and features. The image weighs in at under three megabytes, this makes it fast to download, it also means that Alpine container places minimal load on your system.

Before we begin to build the container images, let’s define a base image and a layered image. In simple terms, a base image is an empty first layer, which allows you to build your container images from scratch. When you create a container image, most Dockerfiles start from a parent image, a layered image adds a collections of layers on top of the parent image in order to install, configure, and run an application. Layered images reference base images in a Dockerfile using the FROM instruction:

FROM alpine:latest

If you need to completely control the contents of your image, you might need to create a base image instead. A base image has FROM scratch in its Dockerfile.

Continue reading “Building Alpine Container Images”

Application Development with Flask

Flask is one of the most popular web application framework, it’s simple and lightweight framework for Python. At the time this writing, Flask version 2.3.x supports Python 3.8 and newer. We will prepare the application development environment with the latest version of Python and Flask.

Most of the latest Linux distributions ship the latest release of Python 3.11. Depend on the operating system, you may install Python from package manager.

In openSUSE, you can install Python 3.11 with this command:

sudo zypper install python311 python311-base python311-pip
Installing Python 3.11 Packages in openSUSE Leap 15.5

In RHEL 9, use DNF for installing Python 3.11:

sudo dnf install python3.11 python3.11-pip

Debian 12 (Bookworm) currently contains 3.11, but you need to install the Virtual Environment that it will be used for the development environment:

sudo apt install python3-venv

If you use Windows as development environment, the winget package manager can be used to download Python 3.11:

winget install Python.Python.3.11

You may download the source code and binary for your operating system from python.org .

Working with Virtual Environment

Use a virtual environment to manage the dependencies for your project, both in development and in production. A virtual environment is created on top of an existing Python installation, known as the virtual environment’s “base” Python, and may optionally be isolated from the packages in the base environment, so only those explicitly installed in the virtual environment are available.

Continue reading “Application Development with Flask”

Installing Fedora CoreOS from Live ISO

Fedora CoreOS is another container operating system, with minimal operating system for running containerized workloads securely and at scale. It’s designed for clusters but also operable standalone, optimized for Kubernetes but also great without it.

You can deploy CoreOS to the cloud, install in bare metal or even run as VM, but in this writing we’re gonna install CoreOS from live ISO. The live ISO installation method can be used for bare metal or virtual machine like VirtualBox or VMWare. Download the live ISO of Fedora CoreOS from https://fedoraproject.org/coreos/download/ or download with podman command:

podman run --security-opt label=disable --pull=always --rm -v .:/data -w /data \
    quay.io/coreos/coreos-installer:release download -s stable -p metal -f iso

Burn the ISO to disk. You can use dd on Linux and macOS, or use Rufus in “DD Image” mode on Windows.

dd if=fedora-coreos-38.20230514.3.0-live.x86_64.iso of=/dev/sda bs=4M status=progress && sync

Change fedora-coreos-38.20230514.3.0-live.x86_64.iso in the if parameter to your downloaded ISO and the value of /dev/sda to your disk device.

To install Fedora CoreOS from live ISO, we need to produce an Ignition config. Ignition is a configuration file that runs only once during the first boot of the system. It can create users, partition disks, format filesystems, and write files before the userspace begins to boot.

Continue reading “Installing Fedora CoreOS from Live ISO”

Using Docker Runtime with openSUSE MicroOS via WSL

In the previous post, I’ve written about playing the container operating system with openSUSE MicroOS, and now moving on using it as Docker runtime. MicroOS designed to host container workloads with small environment for deploying containers, we will benefit the MicroOS’ container host features for running as Docker runtime in the development machine and accessing it via Windows Subsystem for Linux (WSL).

It takes advantage of a client-server model. we need MicroOS installed on VirtualBox as a server and accessing it with openSUSE Leap distribution installed on WSL. When you execute a Docker command in WSL, Docker connects to the MicroOS server via SSH.

At the end of this writing, we’d play acting like a WordPress developer who builds plugins and themes for WordPress with simplest way.

Let’s begin! We need openSUSE Leap from WSL distribution. If you don’t have it, install with this command in Command Prompt:

C:\> wsl --install -d openSUSE-Leap-15.5

(Update 8 July 2023: openSUSE Leap 15.5 is one of available online distribution replacing Leap 15.4)

Update the latest software packages:

sudo zypper refresh
sudo zypper update

Generate public/private rsa key pair with the ssh-keygen command and copy the public ssh key. This public key will be used to access MicroOS.

Install MicroOS in VirtualBox

Download MicroOS from https://en.opensuse.org/Portal:MicroOS/Downloads, choose VirtualBox Base System. Extract the vdi.xz archive that will be used as VirtualBox virtual disk.

Create a new virtual machine with the specification described by this picture:

Continue reading “Using Docker Runtime with openSUSE MicroOS via WSL”

Deploying Laravel Application on Debian 11

Debian 11 allows installing PHP 7.4, but the latest Laravel (at the time of this writing is version 10) has as a requirement to have a PHP version equal to or higher than 8.1. We will use the DPA (Debian Package Archive) available at https://deb.sury.org/, since the official version is not so updated.

sudo apt install apt-transport-https
sudo wget -O /etc/apt/trusted.gpg.d/php.gpg https://packages.sury.org/php/apt.gpg
echo "deb https://packages.sury.org/php/ $(lsb_release -sc) main" | sudo tee /etc/apt/sources.list.d/php.list
sudo apt update
sudo apt upgrade

PHP Packages

Install the PHP 8.1 along with its modules that are required by Laravel, such as SQLite, MySQL, GD, BZ2, ZIP etc.

sudo apt install php8.1-{cli,sqlite3,mysql,bz2,zip,gd,curl,intl,mbstring,xml}

After the installation completed, you can check the installed PHP on your system by running the command php --version.

$ php --version
PHP 8.1.18 (cli) (built: May 17 2023 15:59:20) (NTS)
Copyright (c) The PHP Group
Zend Engine v4.1.18, Copyright (c) Zend Technologies
    with Zend OPcache v8.1.18, Copyright (c), by Zend Technologies
Continue reading “Deploying Laravel Application on Debian 11”

Install PHP 8.1 in openSUSE Leap, and Run the Symfony Application on It

At the time of this writing, the latest openSUSE Leap 15.4 ships with PHP version 7.4 and 8.0. Likewise the upcoming release Leap 15.5 also including the PHP version 8.0. The latest popular PHP frameworks like Laravel (version 10) and Symfony (version 6.2), require minimal version 8.1, so we need to add the additional repository that packages PHP version 8.1.

PHP8 Package in Leap 15.5 Beta

We will use the devel:languages:php repository in OBS. Add the repository with the following command:

# openSUSE Leap 15.4
sudo zypper addrepo -p 90 https://download.opensuse.org/repositories/devel:languages:php/openSUSE_Leap_15.4/devel:languages:php.repo

#  openSUSE Leap 15.5
sudo zypper addrepo -p 90 https://download.opensuse.org/repositories/devel:languages:php/openSUSE_Leap_15.5/devel:languages:php.repo

# refresh the repo
sudo zypper refresh

If you have installed the PHP packages in your system, you have to execute the dup command in zypper. Like in my case that PHP 8.0 packages have been installed in the system, so I execute the following command:

Continue reading “Install PHP 8.1 in openSUSE Leap, and Run the Symfony Application on It”