
In the previous post, I’ve written about how to start to develop the Flask application using the Python virtual environment. In this writing, I’ll use different approach using the containerized environment with Toolbox (or Toolbx).
Toolbox makes it easy to use a containerized environment for everyday software development and debugging. With this tool, makes the Linux containers are more practical to use. We will benefit the Linux Distro packages to run a Flask application inside the container.
I choose a container image from Debian testing distribution for this kind of containerized environment. You may consider to use another distro such as Tumbleweed, Arch, Rawhide, or whatever you like.
Create a toolbox container with the toolbox-create command:
$ toolbox create -i quay.io/toolbx-images/debian-toolbox:testing
It automatically creates a container with the name debian-toolbox-testing. Enter to the Toolbox container with toolbox-enter, we will use the interactive shell to install the Debian packages.
$ toolbox enter debian-toolbox-testing
Install the packages needed by the application inside the interactive shell just like you install or update the Debian packages as usual.
$ sudo apt-get update; sudo apt-get -y upgrade
$ sudo apt-get -y install python3 python3-requests python3-email-validator python3-dotenv \
   python3-flask python3-flask-babel python3-flask-compress python3-flask-gravatar \
   python3-flask-login python3-flask-mail python3-flask-migrate python3-flask-paranoid \
   python3-flask-principal python3-flask-security python3-flask-socketio \
   python3-flask-sqlalchemy python3-flaskext.wtf
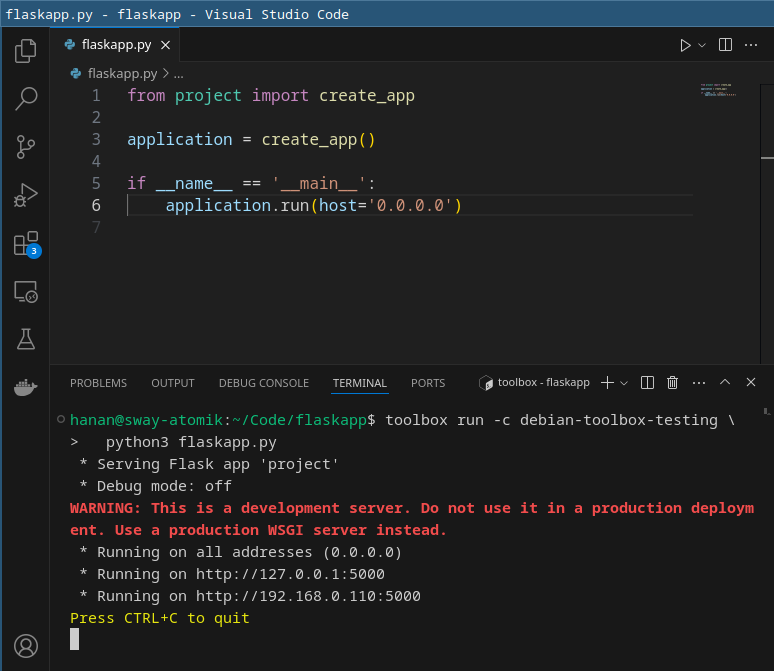
Run your application with toolbox-run. If you familiar with the docker commands, it’s analogous to the start command followed by the exec command. Add a parameter -c debian-toolbox-testing followed by the command you want to call, for example: python3 flaskapp.py
$ toolbox run -c debian-toolbox-testing python3 flaskapp.py
Reference:
– Container Toolbx
– Toolbx Images