Rust provides the Windows Installer to start running Rust in your Windows, but sometimes you might want to develop Rust in your existing Windows Subsystem for Linux (WSL) environment. In your installed Linux distribution, run the following in your terminal, then follow the on-screen instructions to install Rust.
curl --proto '=https' --tlsv1.2 -sSf https://sh.rustup.rs | sh
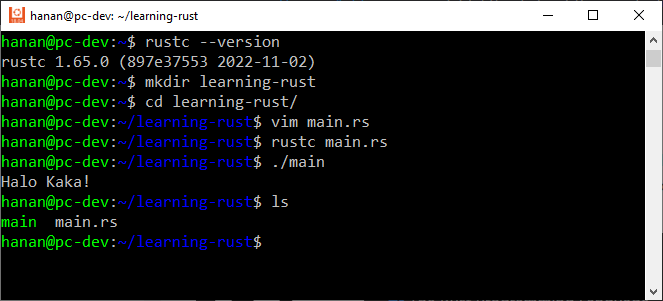
After the installation is completed, run rustc --version in the terminal to check the installation succeeded. Create a hello world program to test the Rust compiler with vim or other editor you like:
mkdir learning-rust
cd learning-rust
vim main.rs
main.rs has the program’s entry function main() and prints “Hello, world!” to the console using println!.
fn main() {
    println!("Hello, world!");
}
Compile it with rustc and execute the compiled main program.
rustc main.rs
./main
Now you can open the rust in Visual Studio Code, I assume you have installed the WSL extension.
code .
Next step we scaffold a new hello_world package using Cargo. It is a tool that allows Rust packages to declare their various dependencies and ensure that you’ll always get a repeatable build.
Open the integrated terminal in Code, and type cargo new command.
cargo new hello_world
cargo new command creates a simple Hello World program with a main.rs source code file and Cargo.toml Cargo manifest file. Open the hello_world/src/main.rs file in the editor.
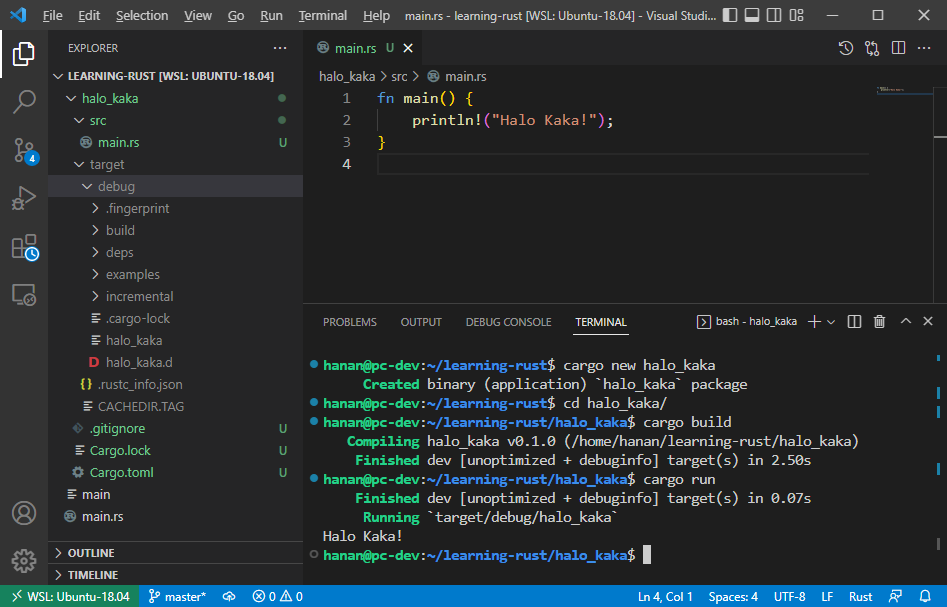
Cargo can be used to build your Rust project by typing cargo build and run it via cargo run.
cargo build
cargo run
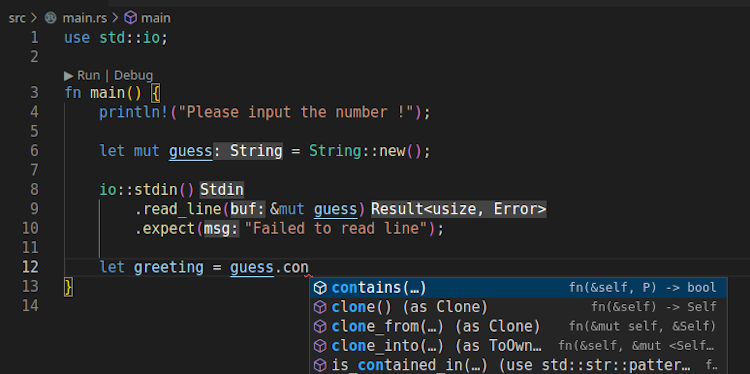
The last but not least, we may install the rust-analyzer extension in Code. It provides features like completion, goto definition, types and documentation on hover, inline hint and many more. Launch the quick open (Ctrl+P), paste the following command, and press enter.
ext install rust-lang.rust-analyzer
Happy nge-Rust ya kaka!