When we run containers in production, basically we only need a Linux kernel, a host security mechanism and a container manager. It means actually we don’t need the complete Linux distribution. That’s the reason why the container operating system exists.
OpenSUSE MicroOS is an operating system that’s focused on running the containerized workloads. Although, MicroOS is not alone out there, you might hear about CoreOS (now part of Red Hat / Fedora), one of the first popular systems of this kind. But in this post, we’ll focus talking about openSUSE MicroOS.
Designed to host container workloads with automated administration and patching. It’s immutable operating system with read-only filesystem to avoid accidental modifications of the operating system, you can rollback by rebooting btrfs snapshot in case of trouble and perform fully automated transactional updates.
To keep the base operating system stable and consistent, MicroOS uses a read-only root file system, you cannot perform direct changes to the root file system. The transactional updates is introduced to allow you to apply one or more changes to the root file system. It leverages the existing tools such as btrfs, zypper and snapper to update a system without touching the running system. Any problems can be immediately rolled back by discarding the transactional snapshot and rebooting again, instantly returning the system to its working order.
Where will we get started?
The first place you have to visit is openSUSE MicroOS Portal: https://en.opensuse.org/Portal:MicroOS. From this place you might find out all information about MicroOS, including download the installation for your devices. I downloaded the preconfigured image for Raspberry Pi and write the image into SD Card:
xzcat openSUSE-MicroOS.aarch64-RaspberryPi.raw.xz | dd bs=4M of=/dev/sda iflag=fullblock oflag=direct; sync
If your device has no integrated display, you can perform initial configuration like adding a SSH key or setting a root password using Combustion or Ignition. If neither Ignition nor Combustion configs were found, the interactive jeos-firstboot wizard allows you to set a root password.
The first time you log in to MicroOS, perform the transactional-update command to get latest update of the operating system:
transactionsal-update

You have to reboot for every packages installed or updated in the transactional system.
Installing the packages
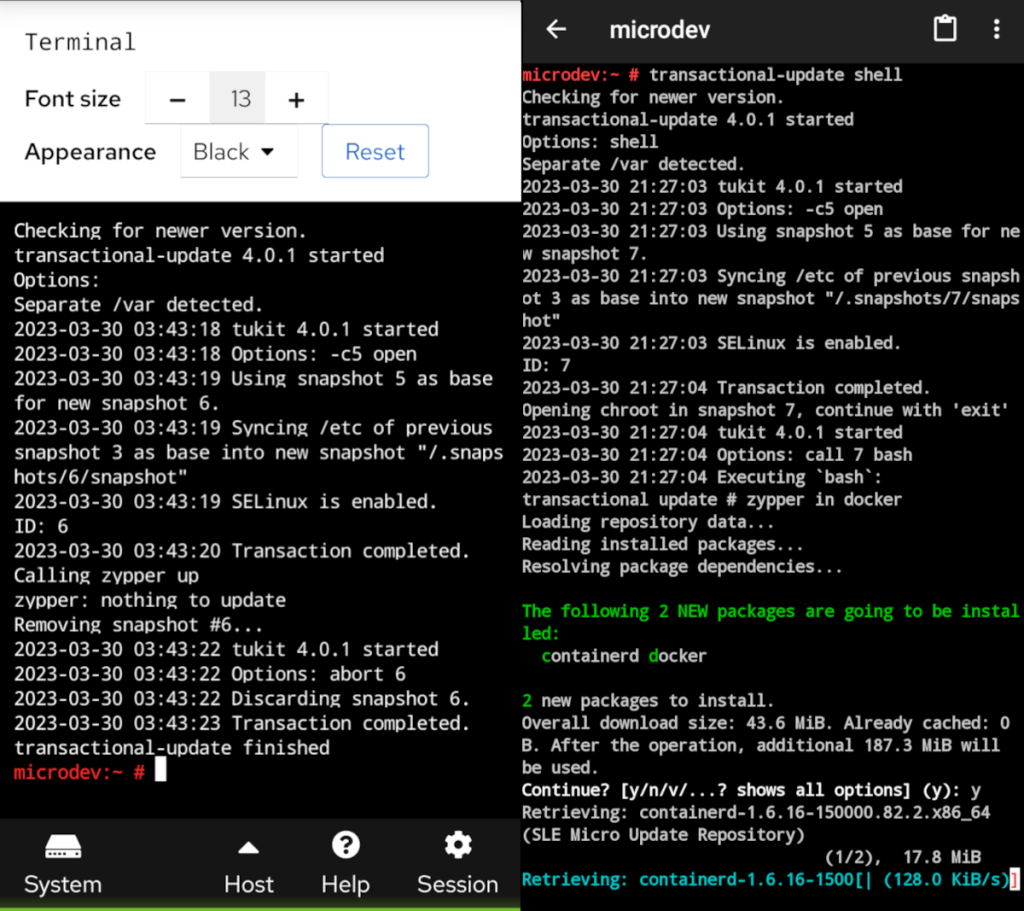
We use the transactional-update tool to install or update packages instead of using zypper. For example, when you’re gonna install Podman, we execute this command:
transactional-update pkg install podman
Another example to install Cockpit in MicroOS, a web-based graphical interface to administer your operating system.
transactional-update pkg install patterns-microos-cockpit
Enable the service and configure the firewall to run Cockpit:
# systemctl enable --now cockpit.socket
# firewall-cmd --permanent --zone=public --add-service=cockpit
# firewall-cmd --reload
Now you can access you MicroOS anywhere through the web interface: https://_IP_ADDRESS_:9090
Other commands for transactional-update are listed below:
transactional-update pkg install package_name, install a rpm packagetransactional-update pkg remove package_name, remove an rpm packagetransactional-update dup, perform a system upgrade to the next releasetransactional-update shell, open a shell of the next snapshot, you can use zypper commands in the shell.

Playing with Desktop
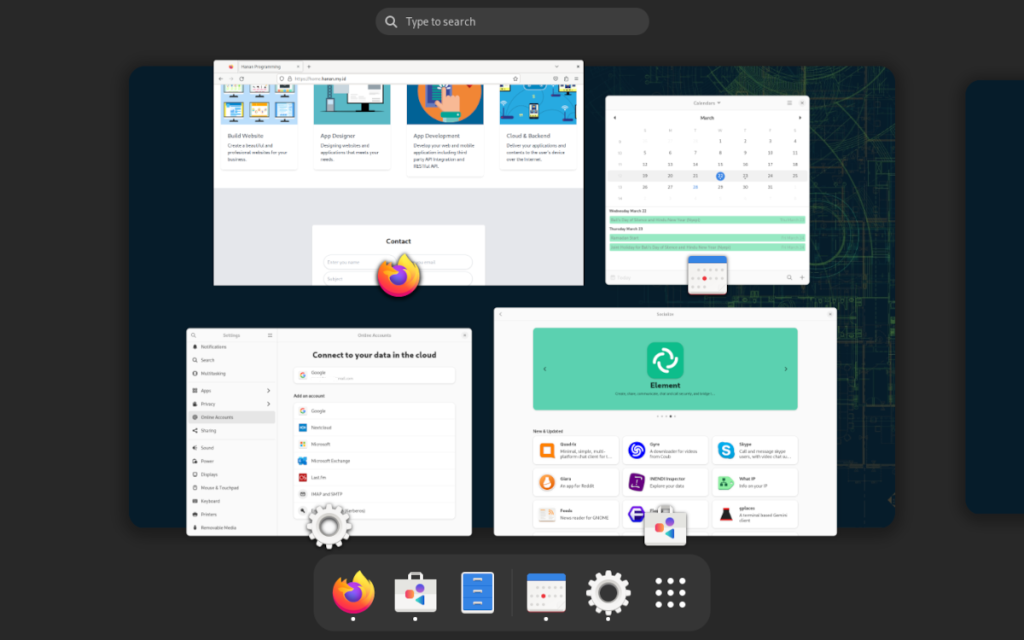
MicroOS is not limited to container hosts, you might want to play deeper to make your MicroOS running as a Desktop. Why not?
MicroOS for Desktop usage is still in a RC stage for GNOME and Alpha stage for KDE Plasma. It provides only a minimal base system with a Desktop Environment and basic configuration tools. All applications, browsers, codecs, etc are provided by Flatpak from FlatHub.
To start using Desktop in MicroOS, perform the transactional update bellow:
transactional-update pkg install patterns-microos-desktop-common patterns-microos-desktop-gnome
After all packages successfully installed, configure systemctl to run desktop environment as default:
systemctl set-default graphical.target
Don’t forget to reboot your system and you’ll find your system running as desktop environment in MicroOS.

Have a lot of fun 🥳

